3.3.7. Correct perspective distortion
Discorpy can be used to correct perspective distortion of an image, e.g. to read information from the image or to make a document captured by a camera look like a scanned one.
Firstly, we need to locate 4 points from the image knowing that they should be at 4 corners of a rectangular shape. This can be done using ImageJ software as shown in Fig. 3.3.7.1 below. Or, it can be done in a more fancy way using line-detection methods and finding cross-points between these lines using Scikit-image and Discorpy’s API.
import numpy as np
import discorpy.losa.loadersaver as losa
import discorpy.proc.processing as proc
import discorpy.post.postprocessing as post

# Load image
file_path = "../../data/demo/perspective_demo.jpg"
output_base = "./output_demo_07/"
mat = losa.load_image(file_path, average=False)

# Provide the coordinates of 4-points. They can be in xy-order or yx-order, this info
# needs to be consistent with other functions. In this example, it's in the xy-order.
list_points = [[180, 1920], [1500, 1602], [2754, 2430], [942, 3246]]

Fig. 3.3.7.1 Reference-points selected using ImageJ software.
Target points are generated using Discorpy’s API, then perspective coefficients are calculated and correcting to the image is applied.
# Generate undistorted points. Note that the output coordinate is in the yx-order.
s_points, t_points = proc.generate_4_source_target_perspective_points(
    list_points, input_order="xy", scale="mean", equal_dist=False)

# Calculate distortion coefficients
list_coef = proc.calc_perspective_coefficients(s_points, t_points,
                                               mapping="backward")
# Apply correction.
mat_cor = np.zeros_like(mat)
for i in range(mat_cor.shape[-1]):
    mat_cor[:, :, i] = post.correct_perspective_image(mat[:, :, i], list_coef)
losa.save_image(output_base + "/corrected_image.jpg", mat_cor)
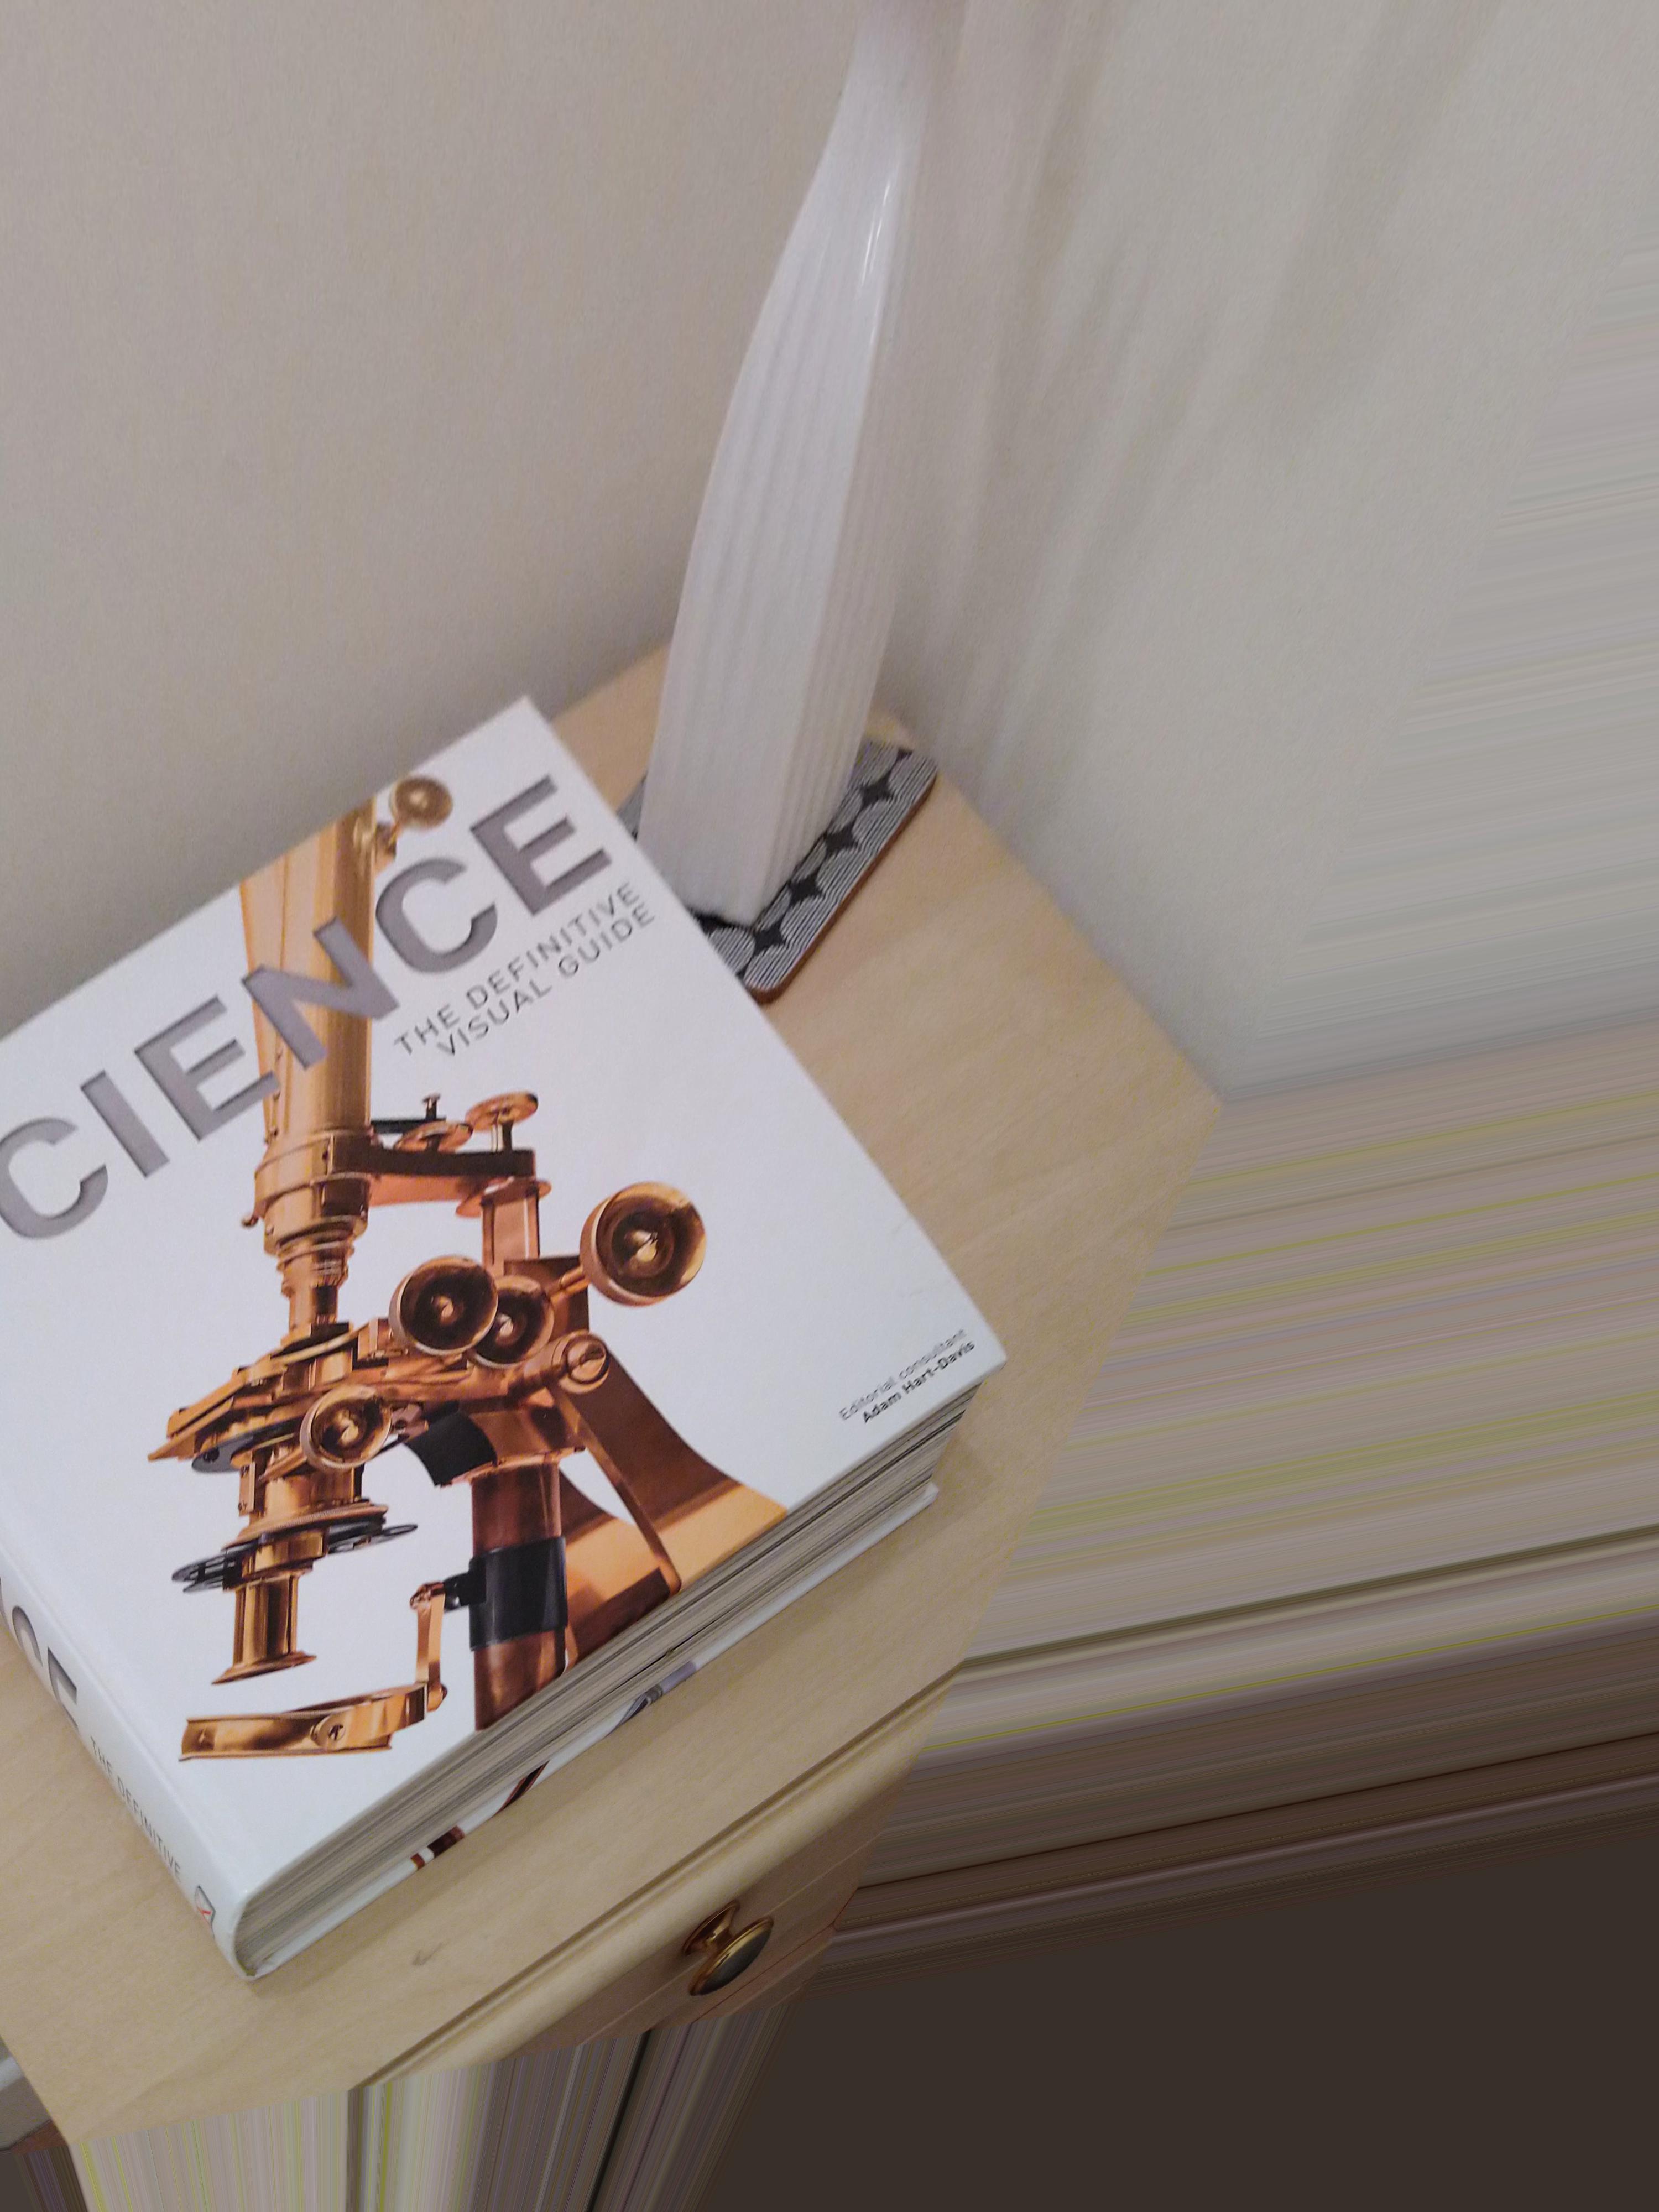
Fig. 3.3.7.2 Perspective corrected image.
As can be seen in Fig. 3.3.7.2, the region of interest is out of the field of view and rotated. We can rotate the output image, offset, and scale it by changing the target points as follows.
rotate_angle = 35.0
x_offset = 2600
y_offset = -1000
scale = 1.5

# Apply rotating
x = t_points[:, 1]
y = t_points[:, 0]
a = np.deg2rad(rotate_angle)
x_rot = x * np.cos(a) - y * np.sin(a)
y_rot = x * np.sin(a) + y * np.cos(a)

# Apply scaling
x_rot = x_rot * scale
y_rot = y_rot * scale

# Apply translating
x_rot = x_rot + x_offset
y_rot = y_rot + y_offset

# Update target points
t_points2 = np.asarray(list(zip(y_rot, x_rot)))

# Calculate coefficients
list_coef2 = proc.calc_perspective_coefficients(s_points, t_points2, mapping="backward")
# Correct the image.
mat_cor = np.zeros_like(mat)
for i in range(mat_cor.shape[-1]):
    mat_cor[:, :, i] = post.correct_perspective_image(mat[:, :, i], list_coef2, order=3)
losa.save_image(output_base + "/adjusted_image.jpg", mat_cor)
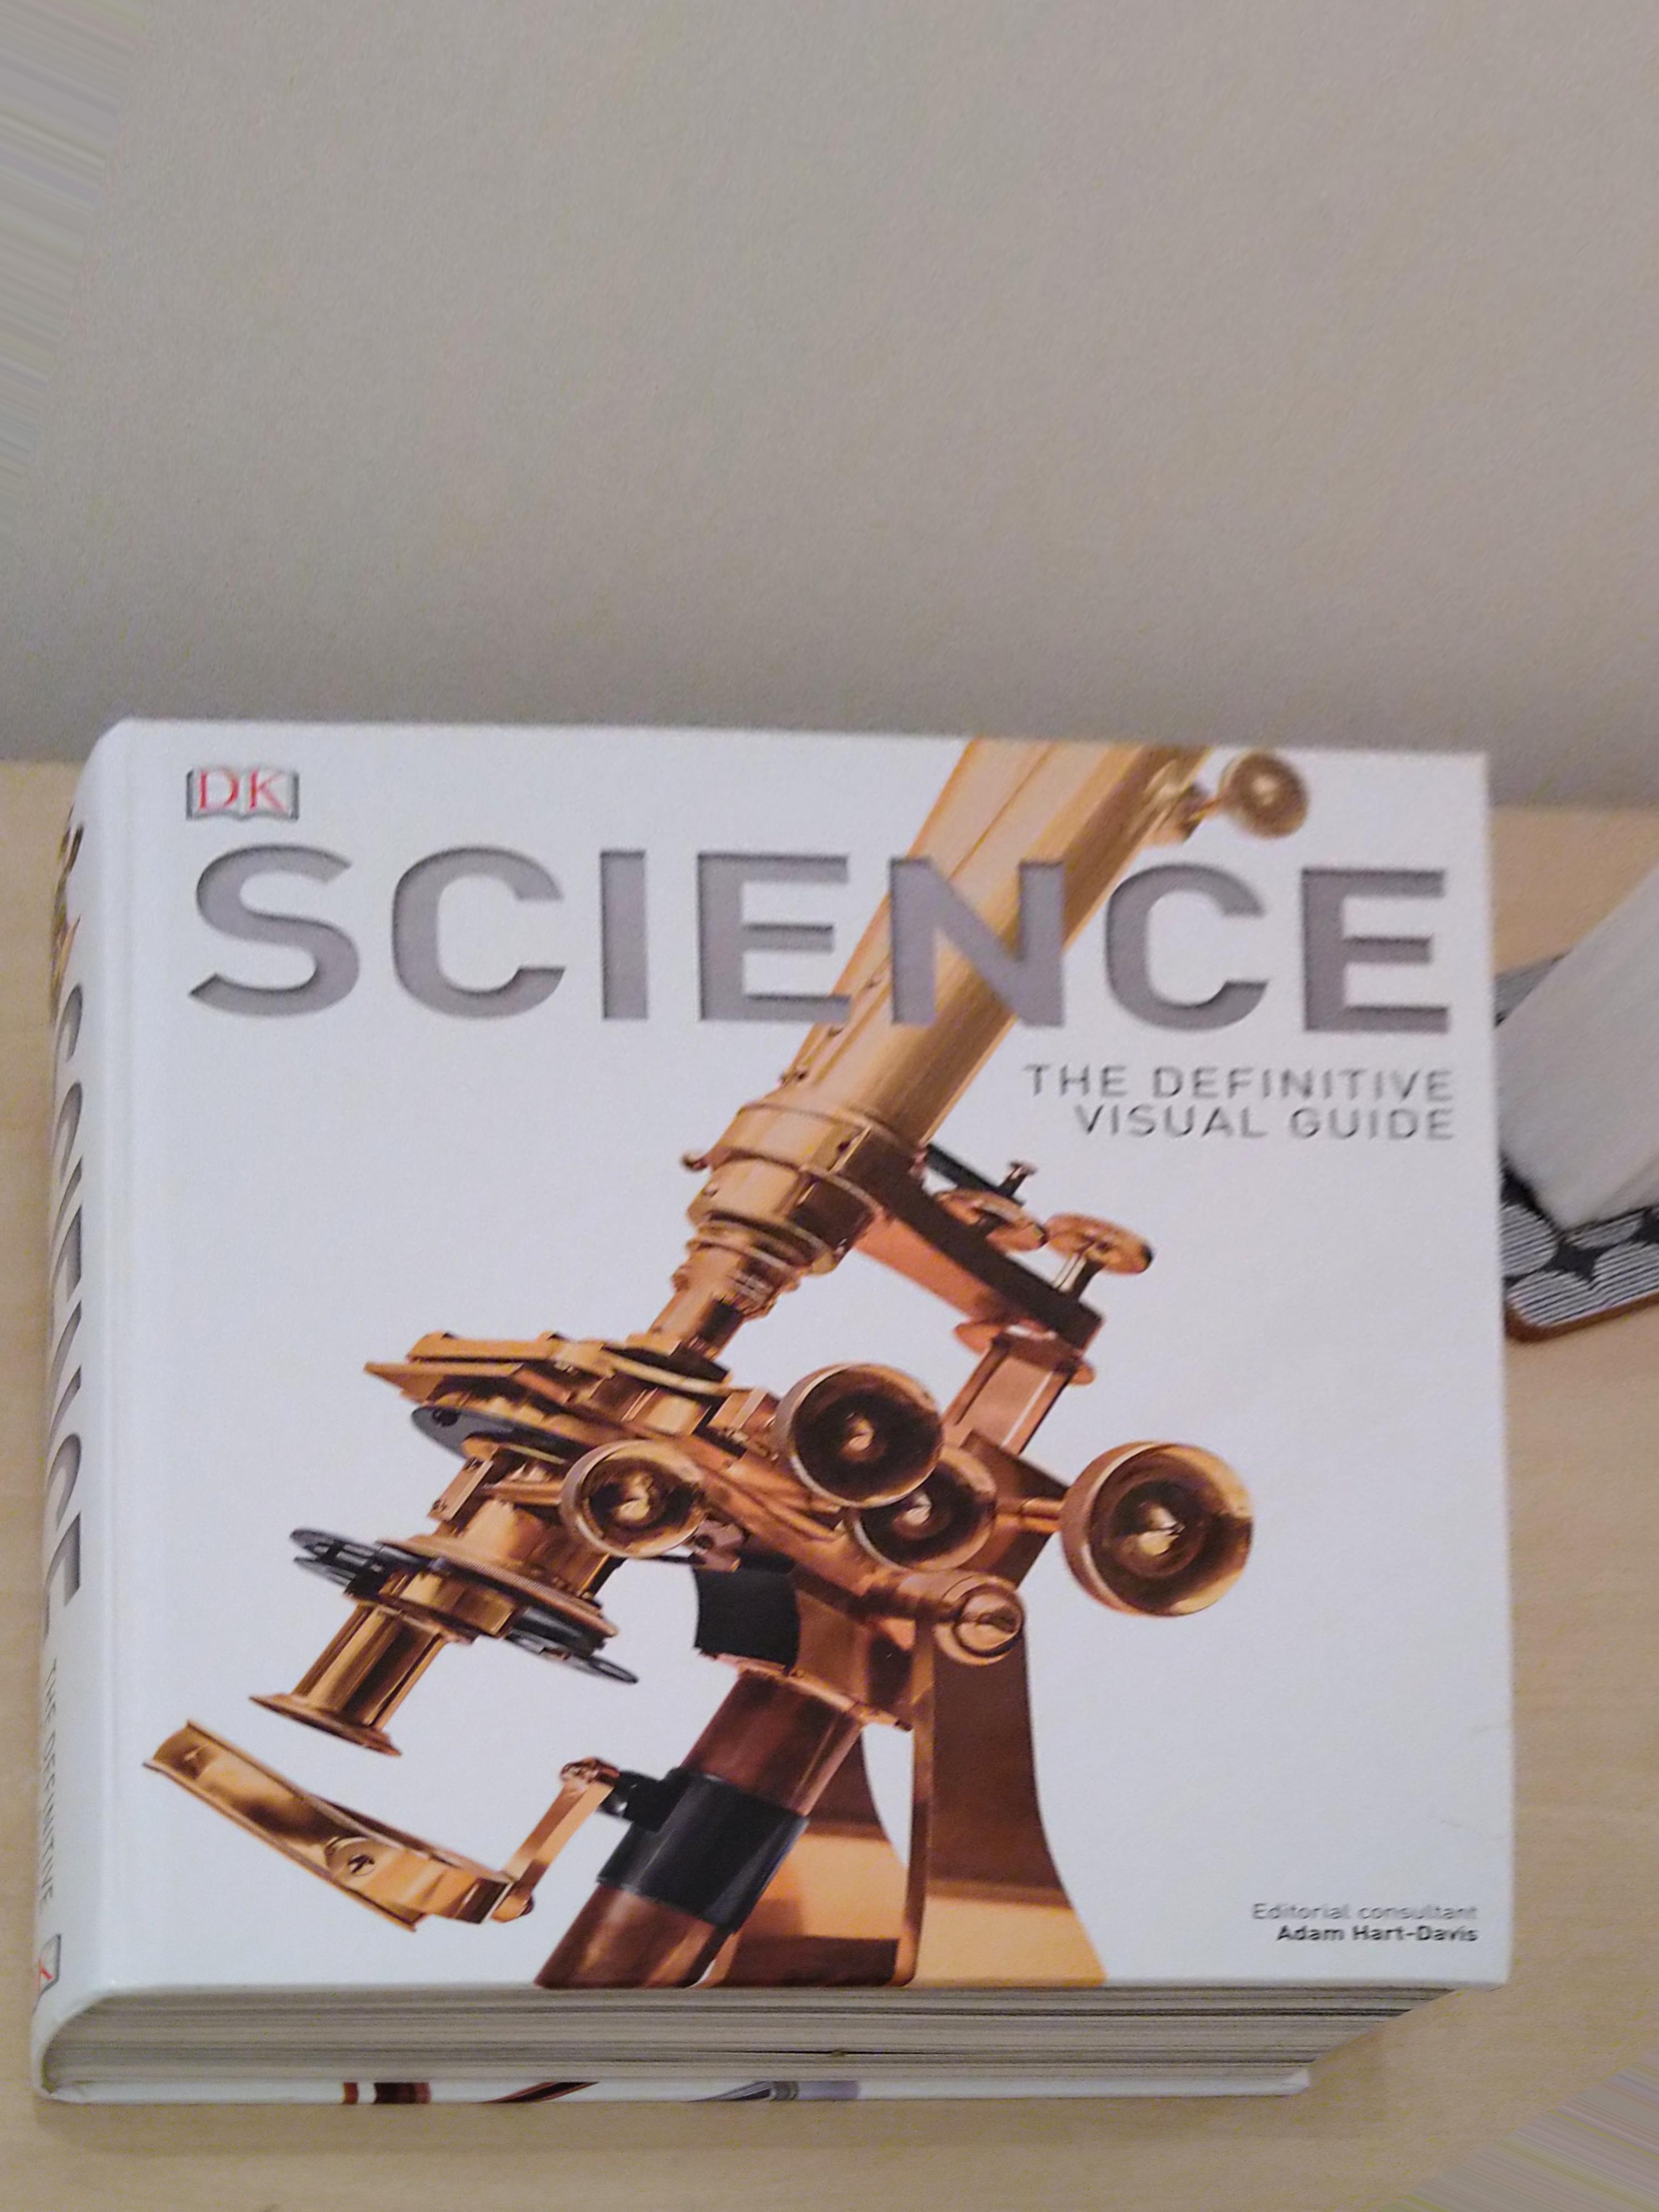
Fig. 3.3.7.3 Image after applying the scaling, rotating, and translating operation.
Click here to download the Python codes.